
Learn how to set up your inventory, upload digital product files, and manage your file listings using the EZDZSend dashboard.
📝 Introduction
This guide explains how to set up inventory in your EZDZSend dashboard and upload your digital product files (such as coupon codes, gift cards, or activation keys). These files will be used to automatically fulfill orders connected to your WooCommerce, Shopify, or PayPal stores.
🧱 Step 1: Open the Inventory Section
- Log in to your EZDZSend dashboard.
- Click Inventory from the left-hand menu.
- Click the “New Record” button to start creating a new inventory.
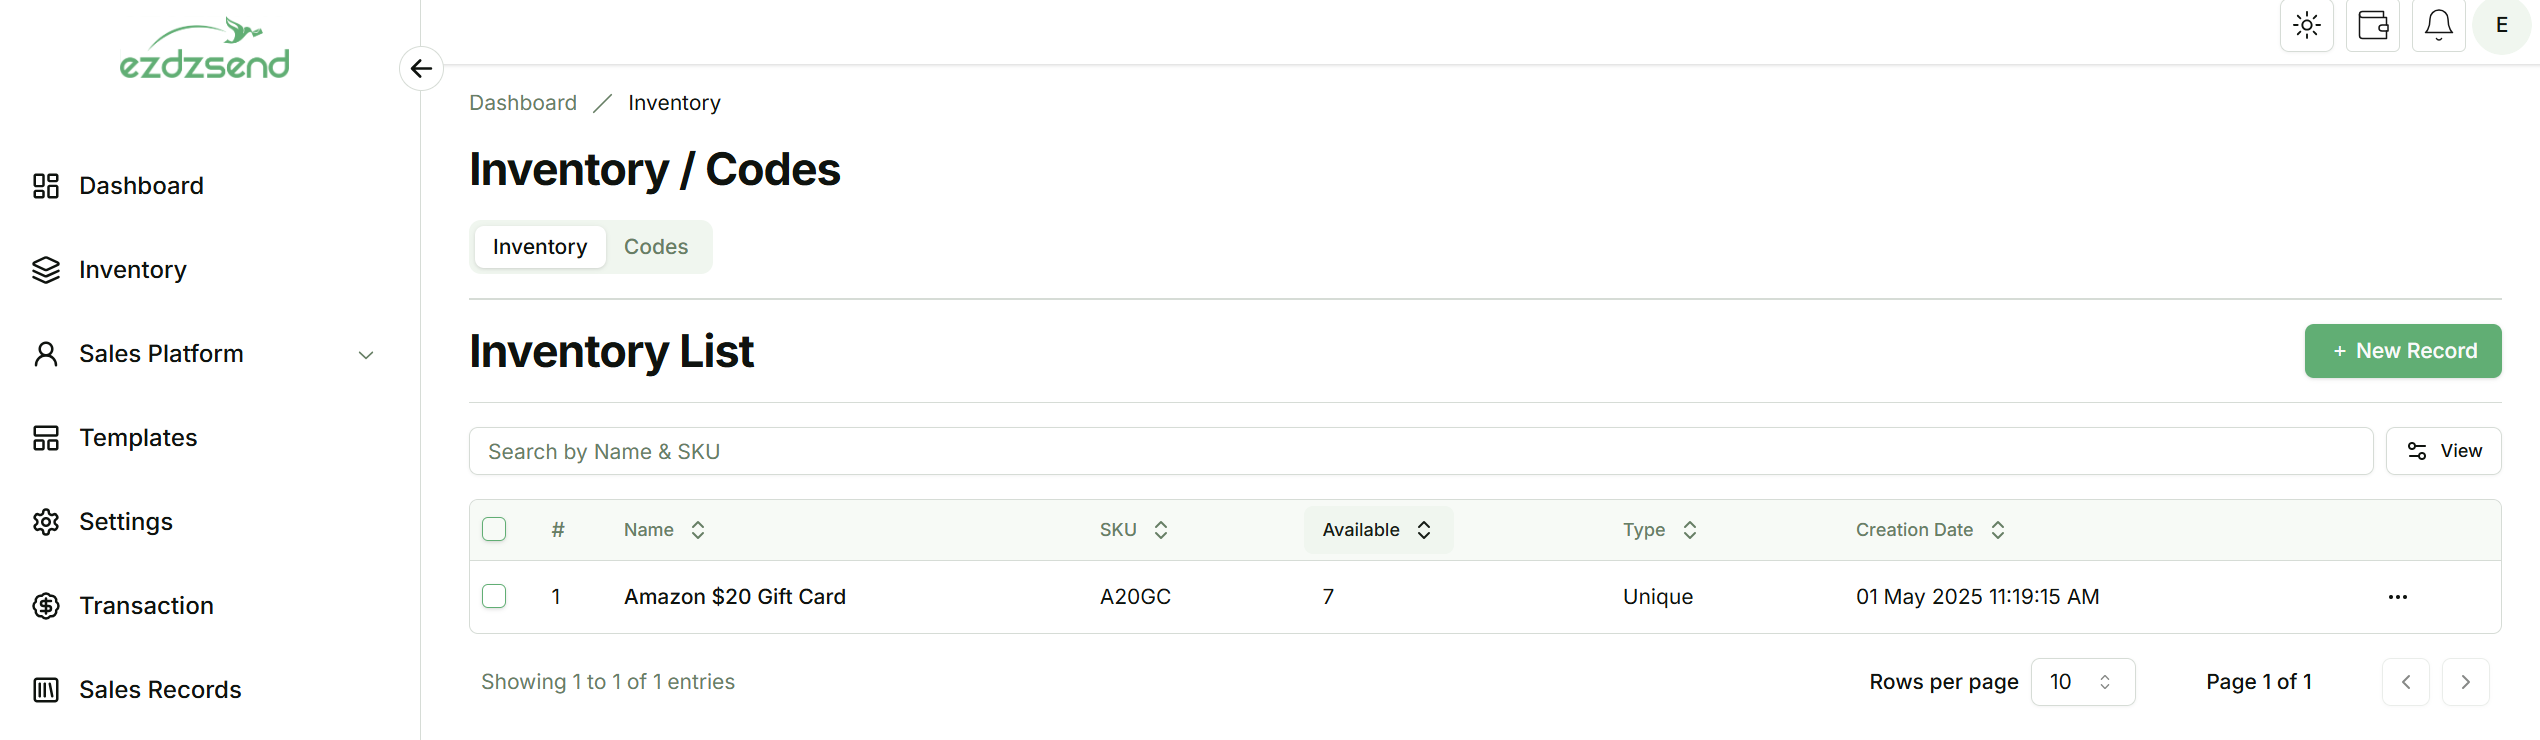
Caption: “Inventory dashboard view with ‘New Record’ button highlighted.”
✏️ Step 2: Create a New Inventory Entry
- Fill in the required fields:
- Inventory Name
- SKU
- Type (Choose Unique for one-time codes, or Recursive for reusable digital products)
- Click Submit to save the inventory.
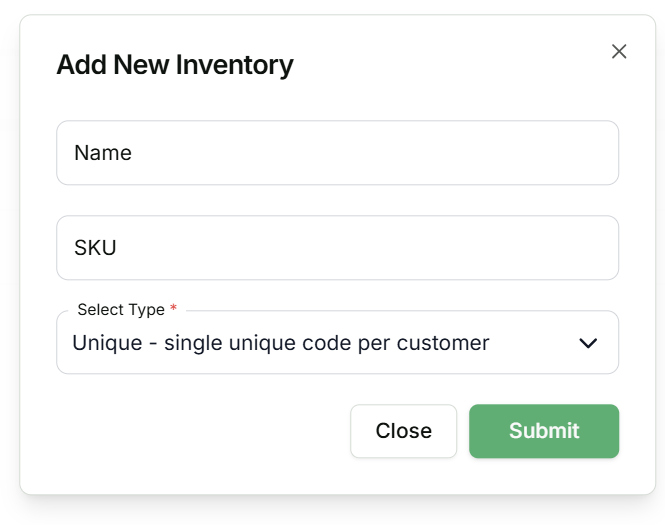
Caption: “Form for creating new inventory including name, SKU, and type selection.”
📤 Step 3: Upload Your Files to Inventory
- In the Inventory panel, click on the Codes tab.
- Click “New Record” to upload a new file.
- Select the file type and expiration date (if needed).
- Drag your file into the upload area or click to browse your computer.
- Click Submit to complete the upload.
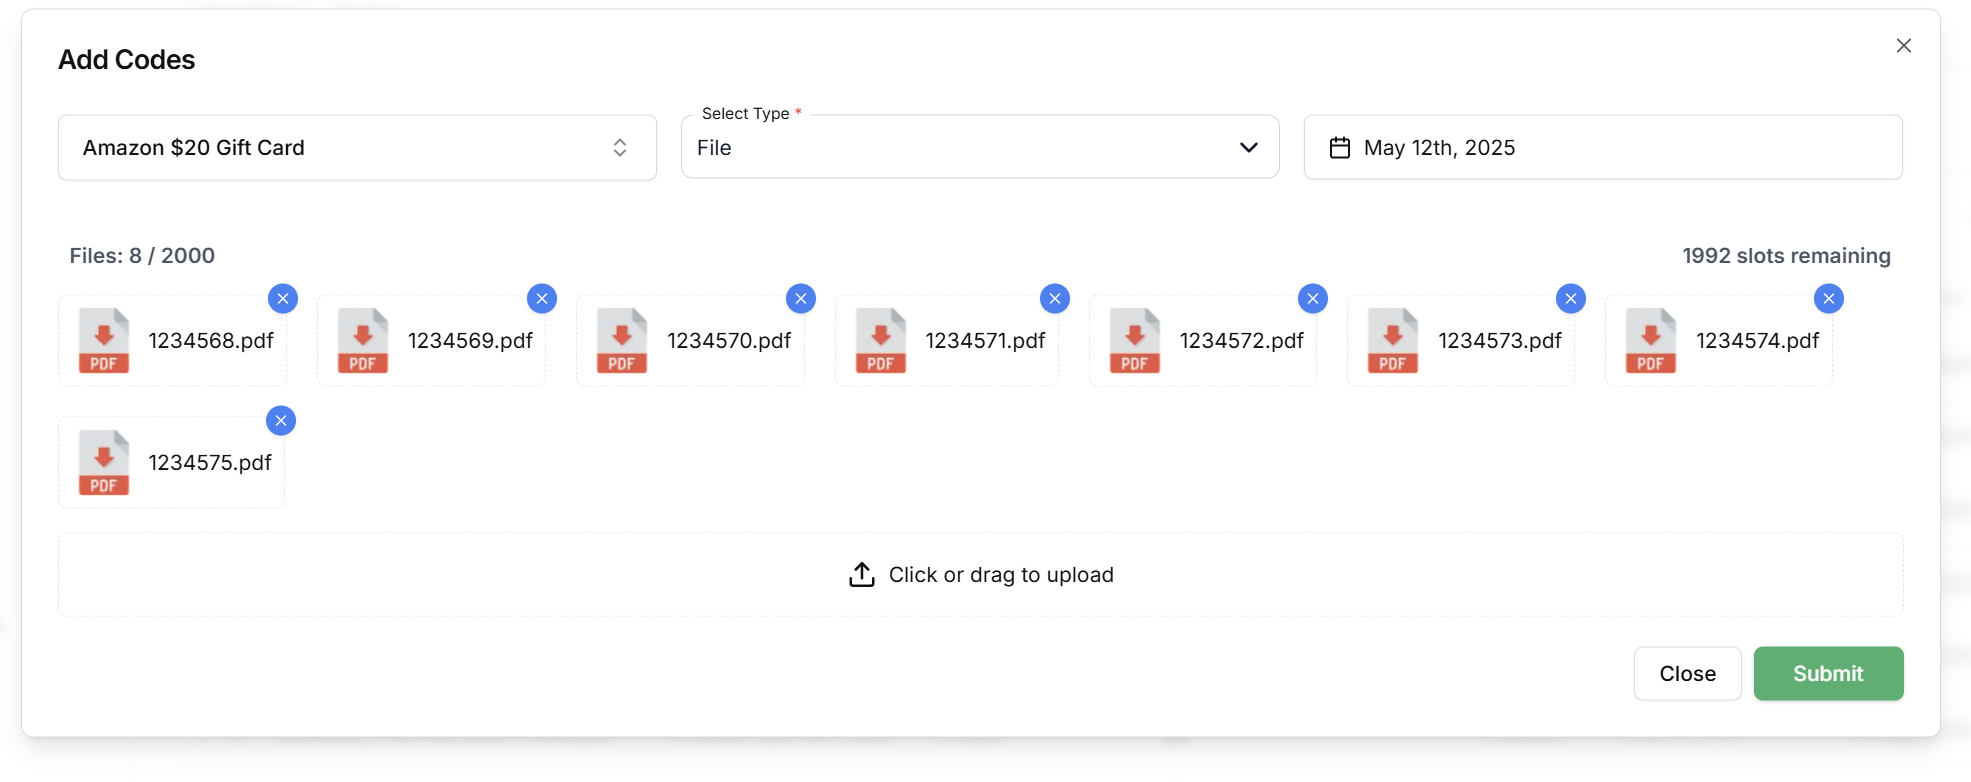
Caption: “Upload window showing drag-and-drop file input with file type and expiration options.”
📂 Step 4: Confirm Your File is Uploaded
Once uploaded, the file will appear under the selected inventory. You can:
- View how many codes are uploaded
- Use this inventory when linking products
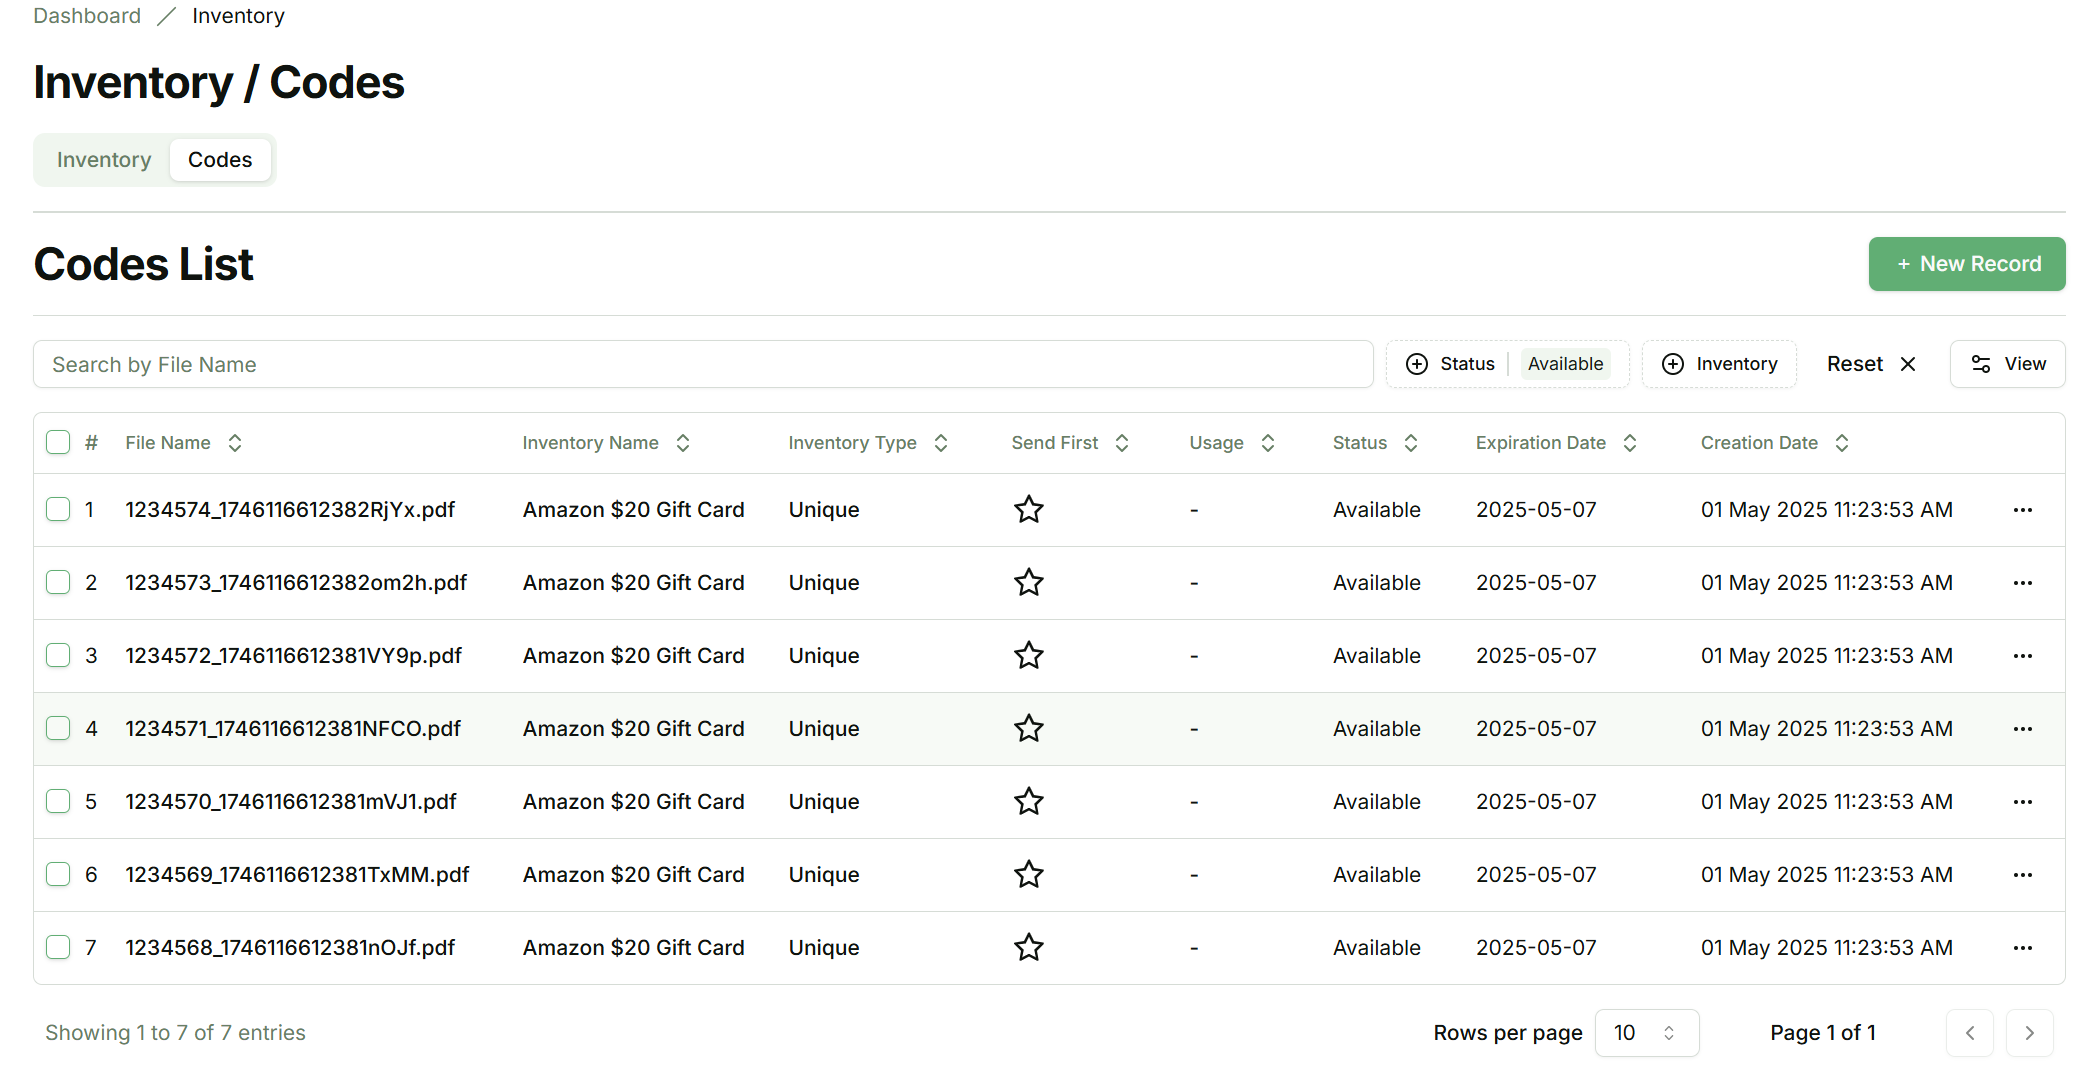
Caption: “Uploaded file displayed in inventory